In Eclipse web projects can be created easily. We will see how to create a simple web project having a JSP file and an HTML file. We will also see how to setup Tomcat server to run our web project.
Let us look at steps to create Web project :-
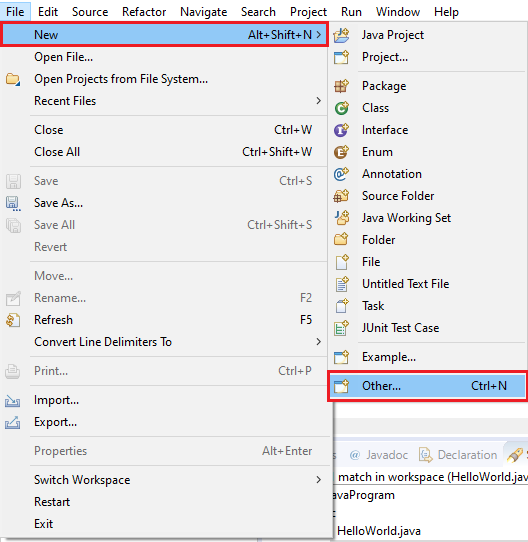
Step 1 :- Click on ‘File’ in tool bar then select ‘New’ and then click on ‘Other…’
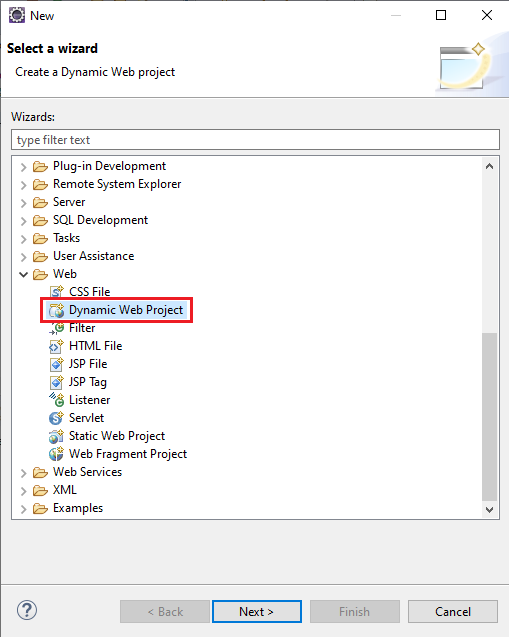
Step 2 :- Under ‘web’ select ‘Dynamic Web Project’
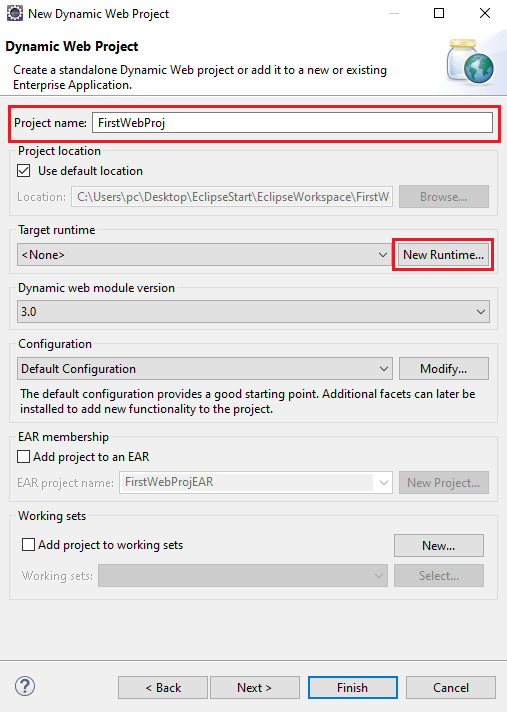
Step 3 :- A popup will open to enter details of web project. Enter the name of project and then click on ‘New Runtime…’ to setup Tomcat server.
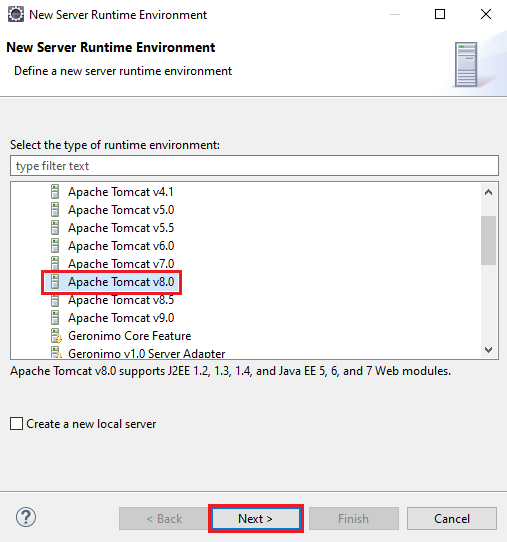
Step 4 :- A Server Runtime Environment list will be opened. Select ‘Apache Tomcat v8.0’ and click on Next button.
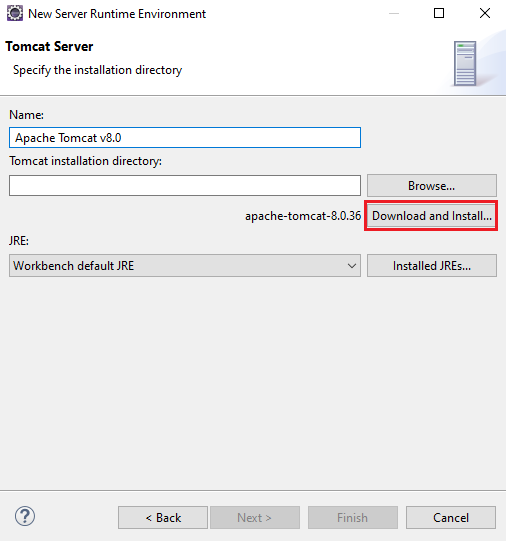
Step 5 :- In the next window click on ‘Download and Install…’ to download tomcat server.
Step 6 :- Accept the terms of license agreement and click on Finish.
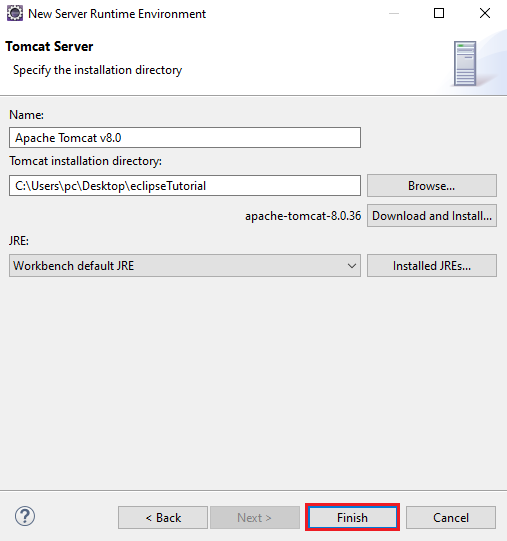
Step 7 :- Now it will ask for the installation folder of tomcat. You can select any folder to download tomcat server. We will download in our workspace itself.
Step 8 :- The download will start in the background. After the download is completed click on Finish.
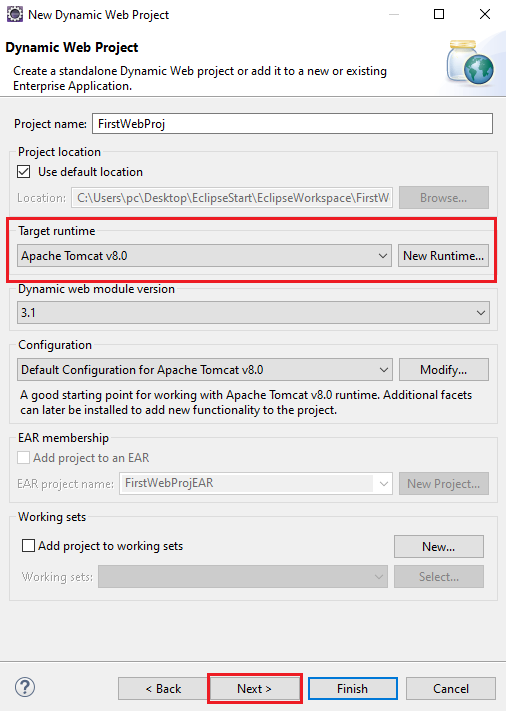
Step 9 :- In the project details popup, under ‘Target runtime’, ‘Apache Tomcat v8.0’ should appear. Now select ‘Next’ button.
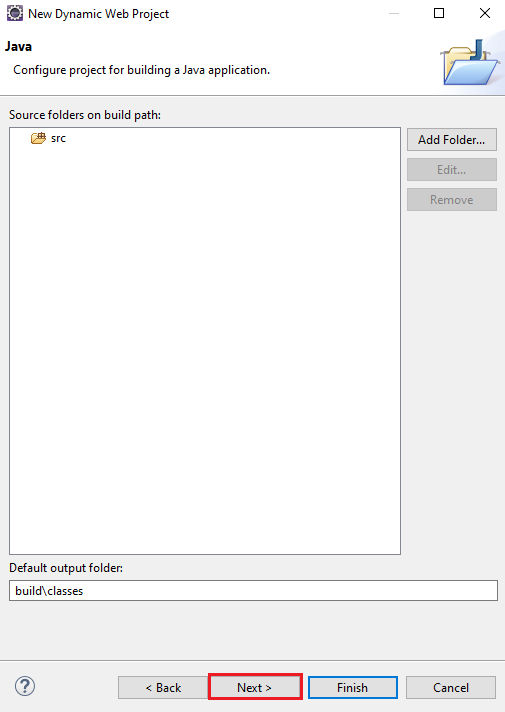
Step 10 :- Click on ‘Next’ button again.
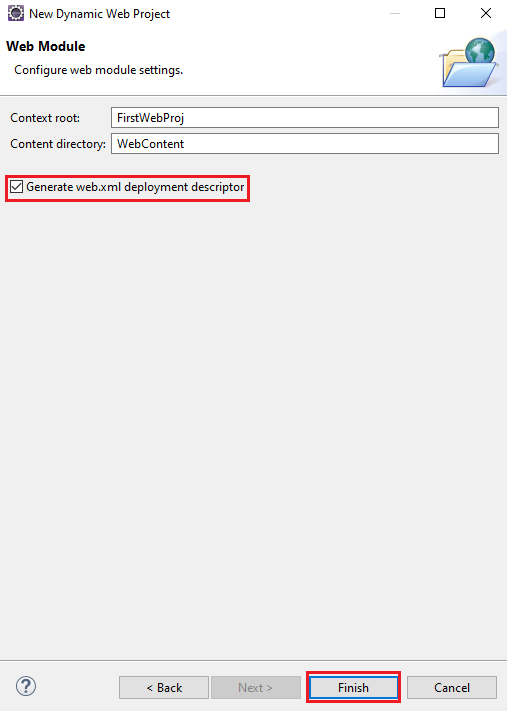
Step 11 :- Now tick the ‘Generate web.xml deployment descriptor’ and click on ‘Finish’ button.
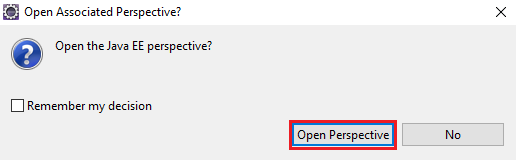
Step 12 :- A popup will open to change the perspective to Java EE. Select ‘Open Perspective’.
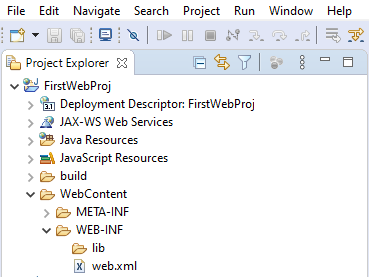
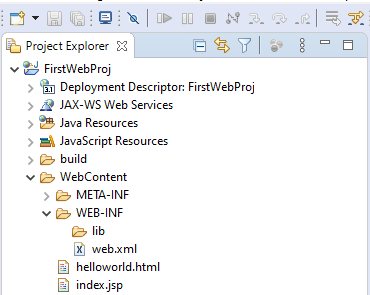
Step 13 :- In the ‘Project Explorer’ on the left, the project structure will look as below.
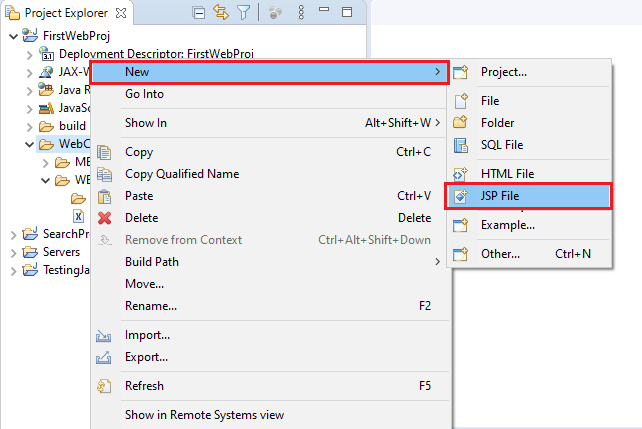
Step 14 :- Now right click on WebContent folder of project and then click on ‘New’ and then ‘JSP File’.
Step 15 :- A popup will open. Give the name of JSP file as index.jsp and click on ‘Next’.
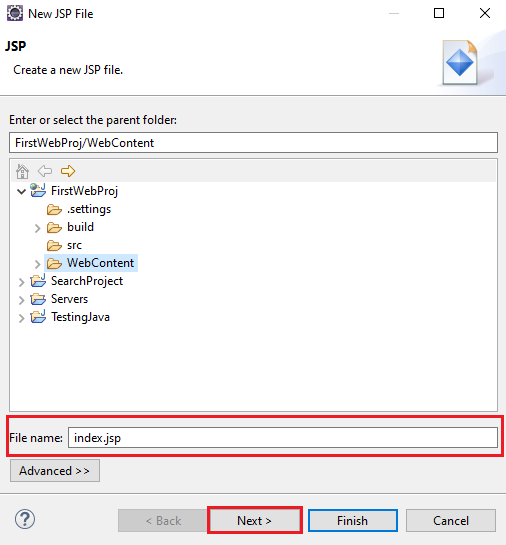
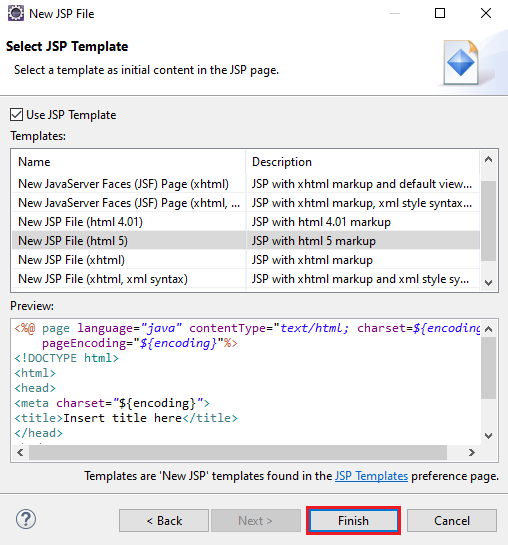
Step 16 :- Now click ‘Finish’ button.
Step 17 :- Write the below code in index.jsp file.
<%@ page language="java" contentType="text/html; charset=ISO-8859-1"
    pageEncoding="ISO-8859-1"%>
<!DOCTYPE html>
<html>
<head>
<meta charset="ISO-8859-1">
<title>Insert title here</title>
</head>
<body>
 <a href="helloworld.html">Click here to see magic</a>
</body>
</html>
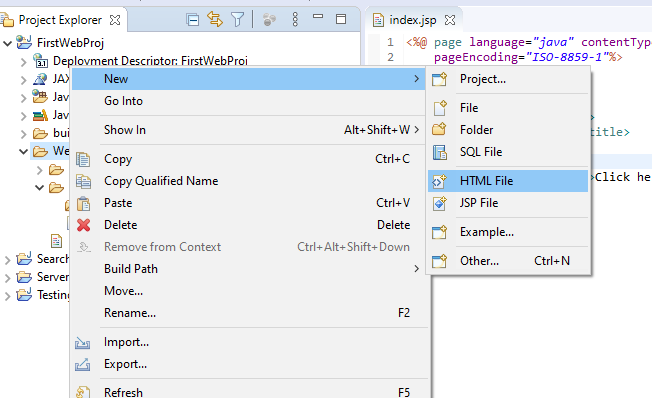
Step 18 :- Again right click on the WebContent folder and select ‘New’ and then select ‘HTML File’.
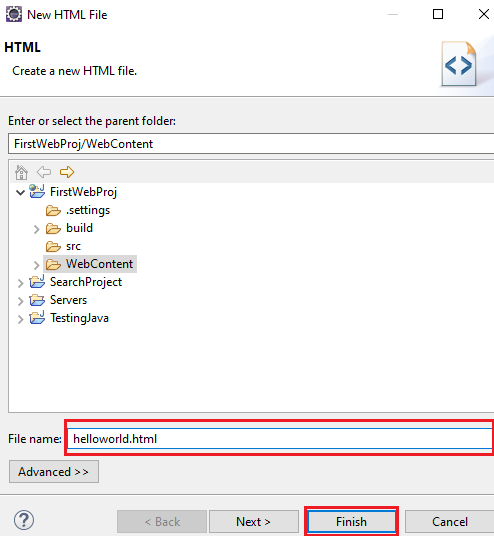
Step 19 :- In the popup opened enter html file name as ‘helloworld.html’ and click on Finish button.
Step 20 :- Type below code in ‘helloworld.html’ file.
<!DOCTYPE html>
<html>
<head>
<meta charset="ISO-8859-1">
<title>Insert title here</title>
</head>
<body>
   <h2>Welcome to world of Web</h2>
</body>
</html>
Step 21 :- The final project structure should look like :
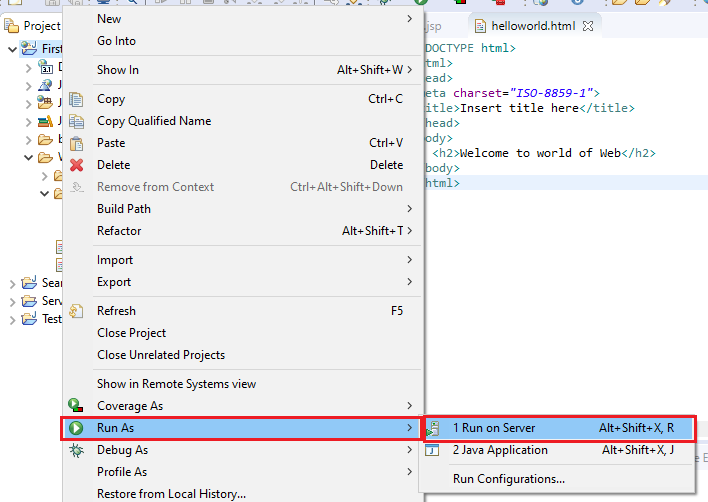
Step 22 :- Now right click on project name and select ‘Run as’ and then select ‘Run on Server’.
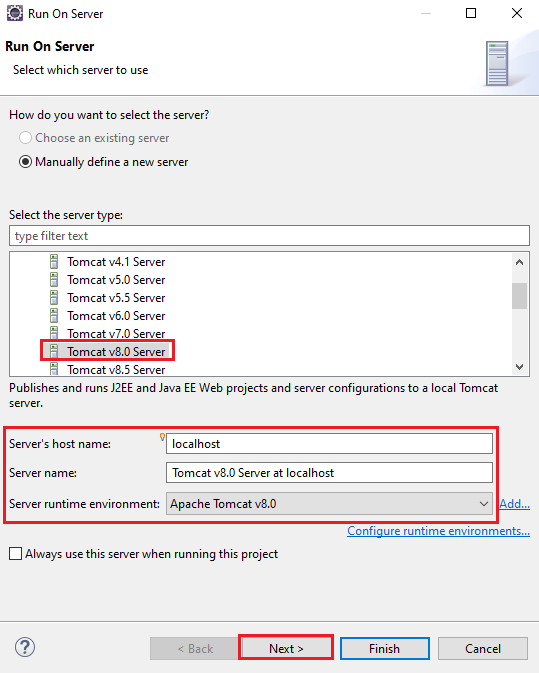
Step 23 :- Check if Tomcat server v8.0 is already selected. Then click on Next button.
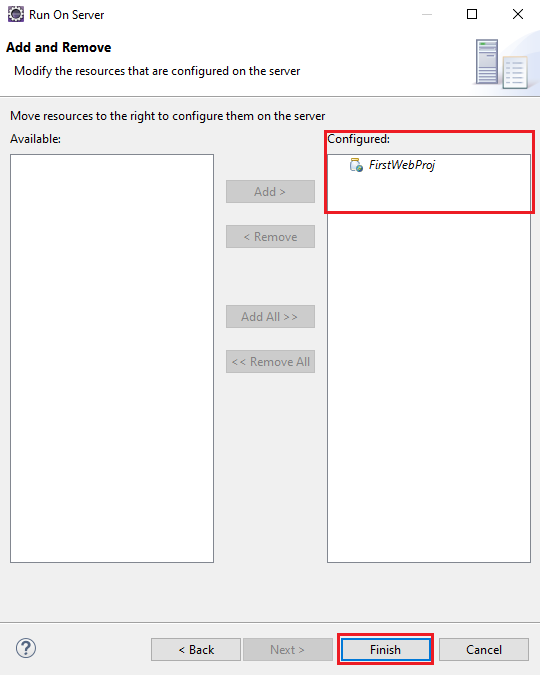
Step 24 :- Make sure that the project name(FirstWebProj) is under ‘Configured’ tab.
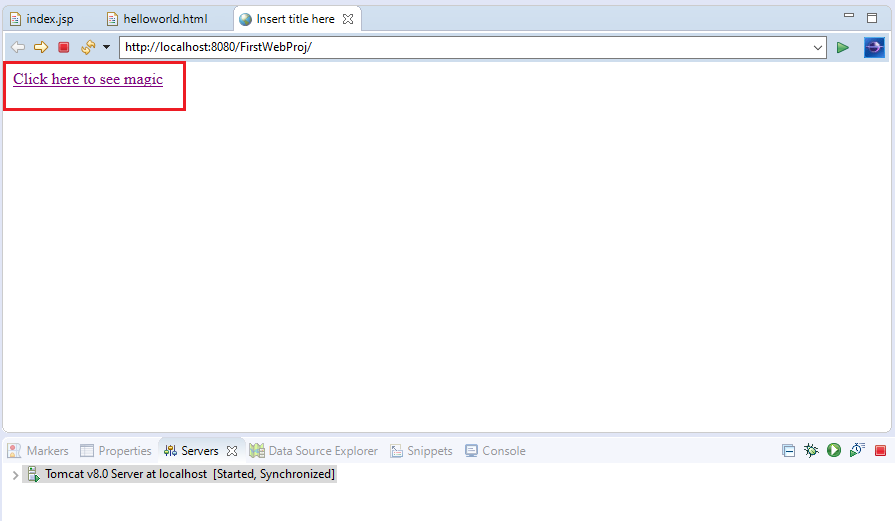
Step 25 :- You will see in the ‘servers’ tab at the bottom, that server is being started. After the server is started, a new tab will open automatically in the code editor window with the web view of application. Click on the link ‘Click here to see magic’ to open helloworld.html.
Step 26 :- ‘helloworld.html’ should get opened.
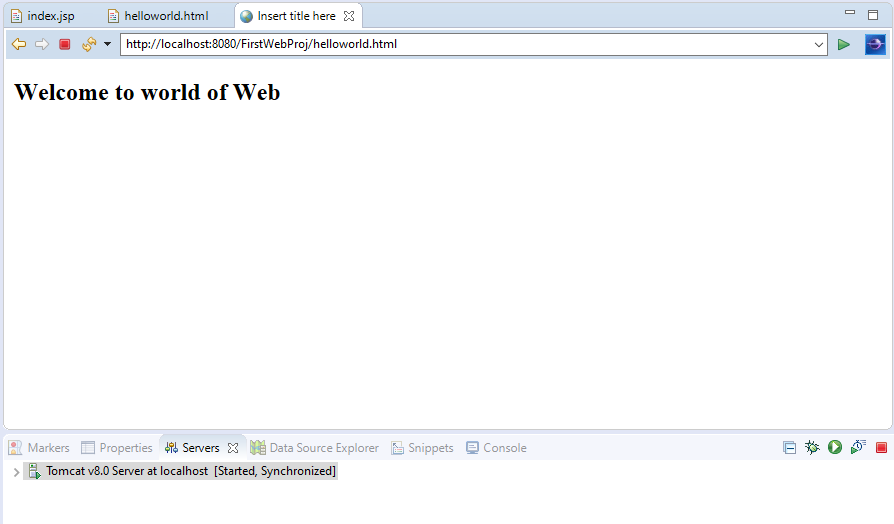
You can also copy the URL of the webpage in some external browser such as Chrome, Firefox etc and view the webpage there too.
Congrats you have successfully created a web project in Eclipse.
Note :- Server setup is a one time process. Next time when you create a web project in Eclipse the same server can be used to create and run the web project.
Below are the topics covered in Eclipse tutorial :-